Mark gets off work early on Fridays during the Summer (yay!) so we took advantage of his 2nd early Friday and headed to visit COSI, which had their Big Machines exhibit going on.

After a visit to the play area we spent some time walking around to check out various exhibits (we have been to the play area many times, but we had actually never been to the other exhibits at the new COSI) and then headed outside to see the Big Machines! Jack loved the trucks and even got to operate a mini excavator!


Big stuff!
Saturday after Mark did some yard work he took over childcare duties so that I could work (mostly uninterrupted) on Jack's duvet cover. Hours and hours, and take out pizza, and another hour or so after kid-bedtime later, it's finished! I probably should have split the work into multiple sessions, but I didn't know when I would next get time to work on it (not to mention I lost my craft space so didn't really have anywhere to leave everything set up for an unspecified amount of time) so I ran with it.
I was so nervous about working with this amount of fabric and although I did find it challenging to make sure that everything was measured and cut properly I think it turned out really well! I'm very happy with the end result.
 |
| Lots of fabric! This is one 43 x 90.5" panel. |
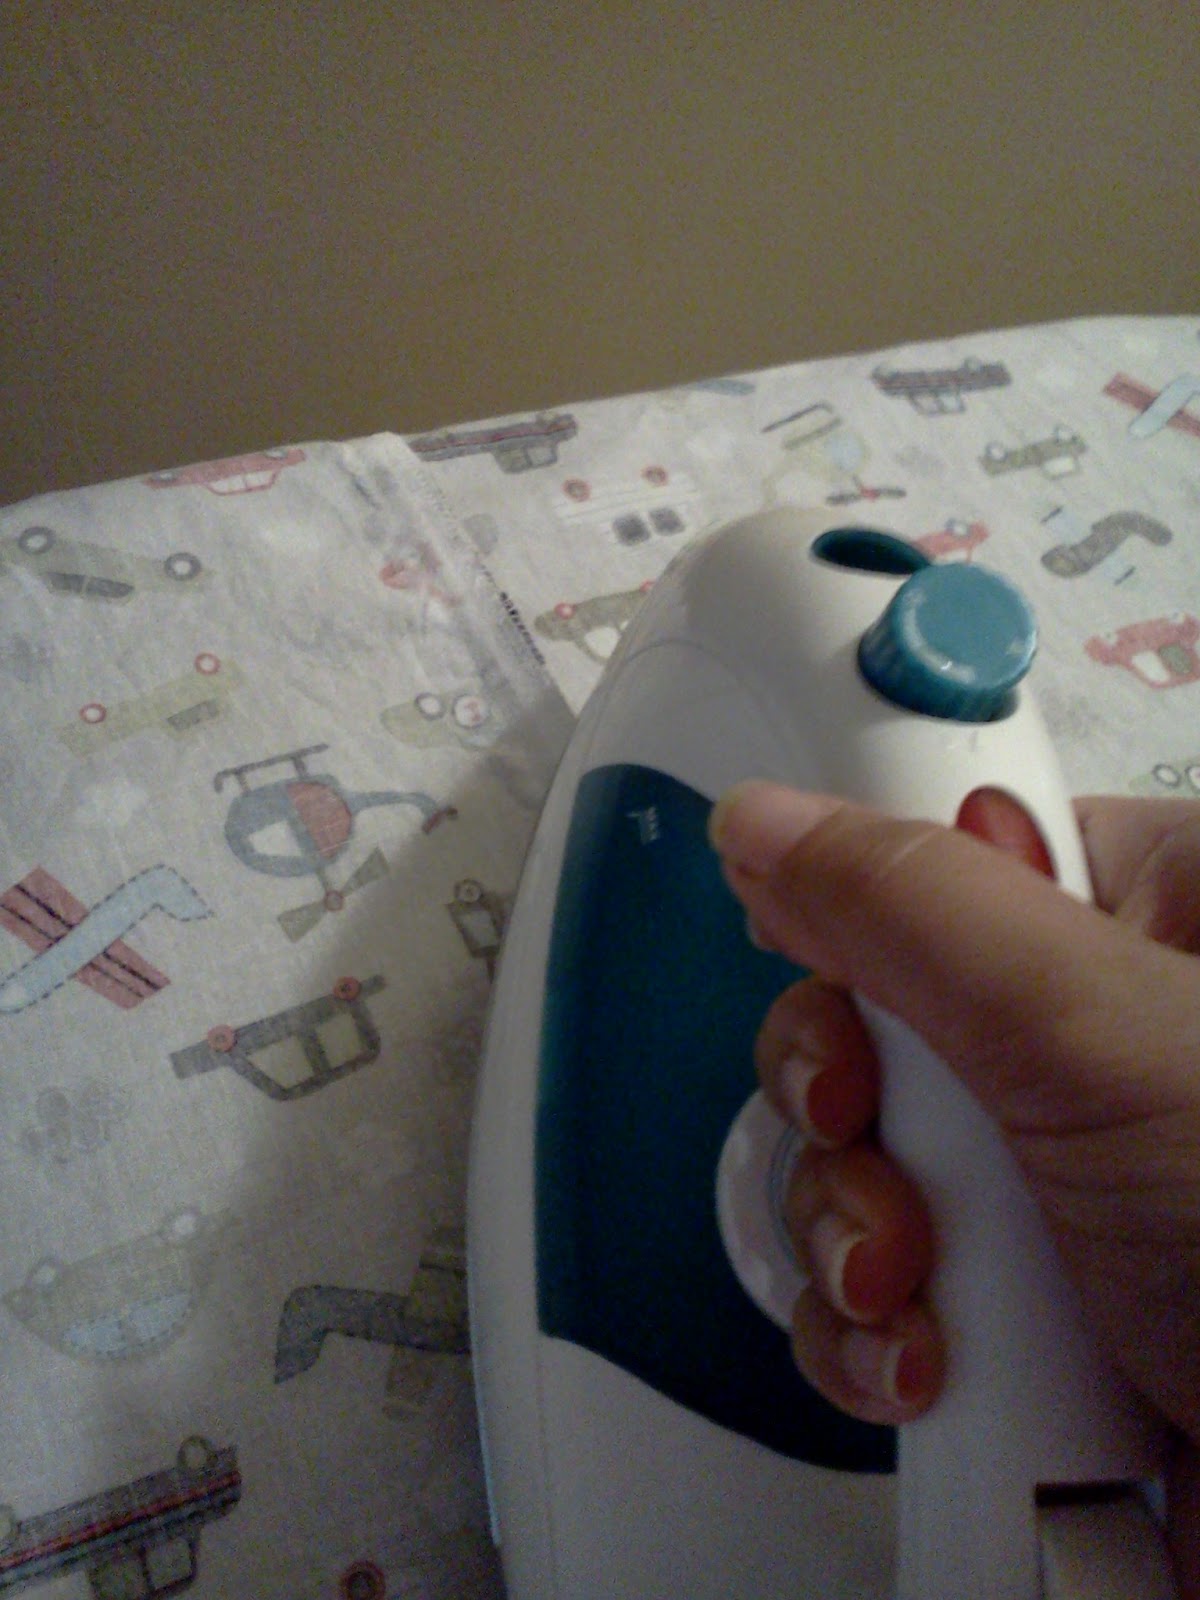 |
| Loooots of ironing happened. |
 |
| At one point I had a darling assistant keeping an eye on things. |
 |
| Annnnd the finished product! |
Okay, so the duvet cover project. Here are some notes for those who may be considering undertaking this or a similar project. As I said before, it was not difficult per se. I used very basic sewing skills and was dealing with all straight lines. It was the amount of fabric that was challenging. It's just a lot of fabric to handle! I read a lot of tutorials before I started this project. The ones that I pulled the most info from are:
Sewing 101: Making a Duvet Cover
DIY Duvet Cover Tutorial
Tutorial: Duvet Cover (this one gave me the great idea to use a laser level to aid with some of the cutting. Brilliant!)
I used Vroom Vroom Vehicles Bright fabric for the top and a flat sheet that I picked up for less than $5 at Walmart. Using the flat sheet was GREAT because not only was it cheaper than buying fabric off the bolt, but also it was the correct size minus ~4-inches in length. I didn't have to do a ton of cutting or piece panels together like I had to do for the top.
For the closure I use some plastic snaps that I had on hand and sewed them into the bottom seams. It worked out really well and because I already had them didn't add to the cost of this project. Winning all around!
So that took up most of my Saturday.
Sunday my niece came over to play and Mark and my dad and brother moved a hand-me-down washer and dryer set for us.

 |
| Pretty sure that was a semi-forced hug, but someone has to take control of the situation :) |
Swings were swung (for hours!), lots of running happened, bubbles were played with, and our house was a big mess, but the kids had a ton of fun and I'm sure all will sleep very, very well tonight!
No comments:
Post a Comment
Please Share Your Thoughts!